Showing posts with label christmas. Show all posts

Christmas Wrapping + Free Printable


I absolutely adore this tree wrapping paper. When searching through Chloe's blog [x] and found this free template [x], I printed it on to kraft wrapping paper. I would honestly recommend printing black patterns on to kraft paper instead of buying pre-printed as it looks soooo professional and is significantly cheaper.


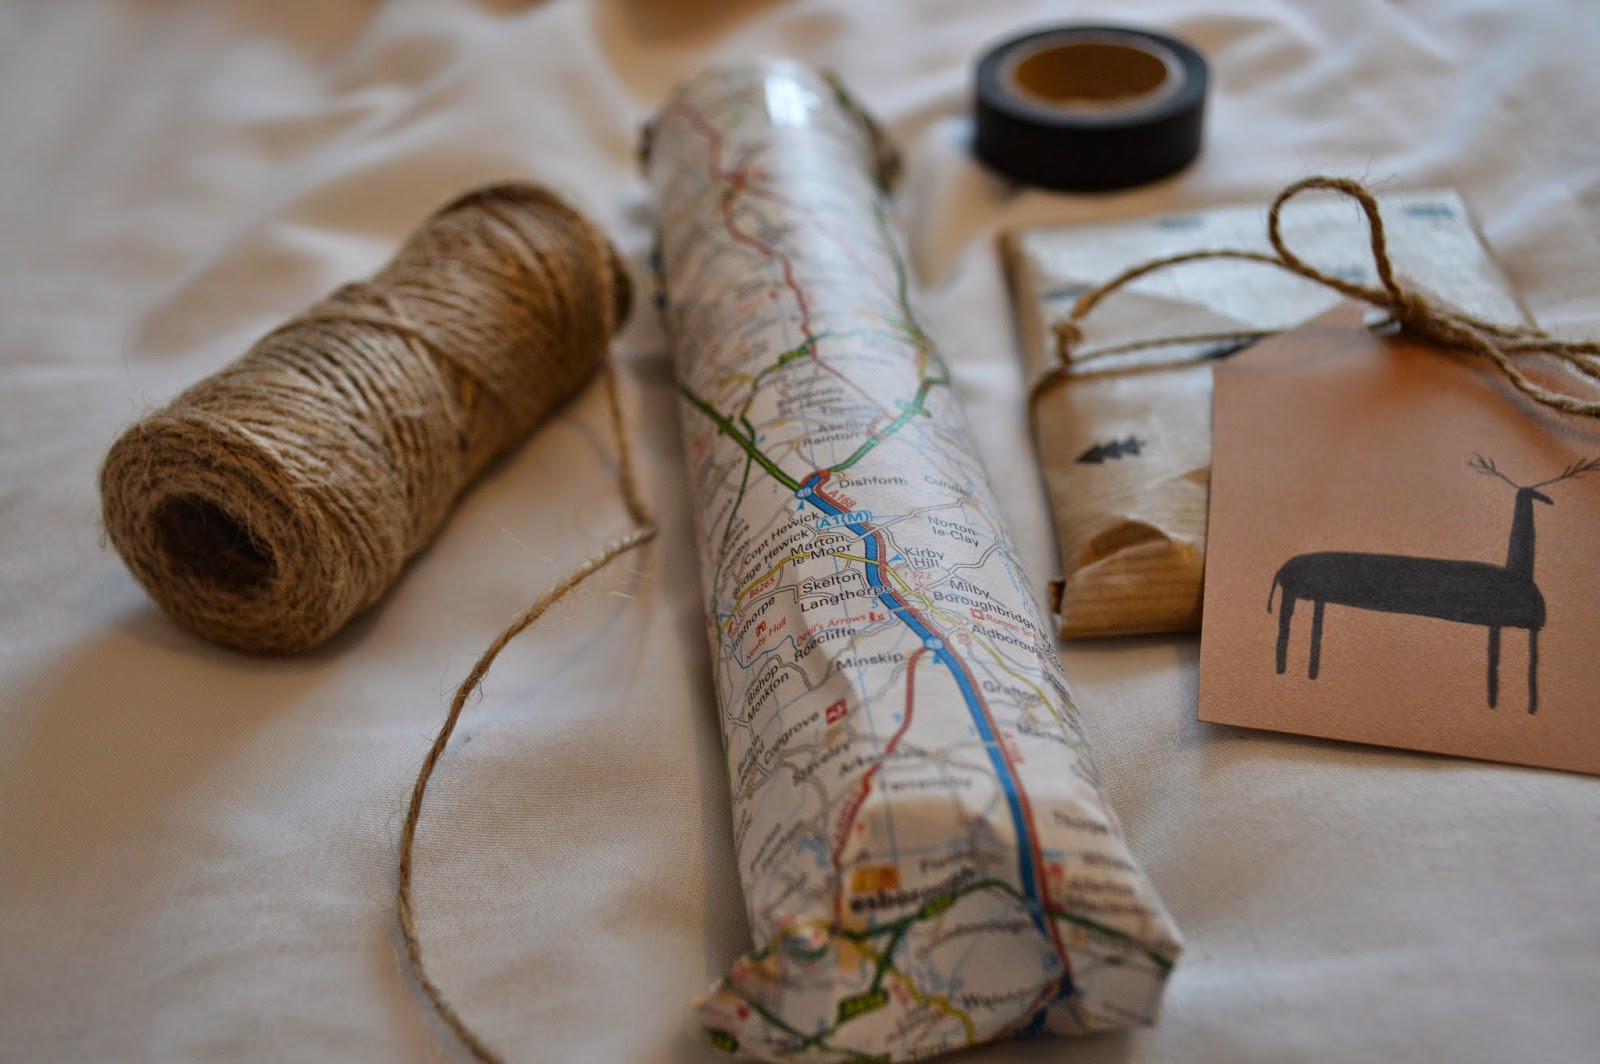
Using maps is another great alternative to wrapping paper- especially if it matches the present's theme.


The little gingerbread bracelet is from Luna and Leo Boutique. You can now get 10% off using the promo code "JESSIE10" - they have so many lovely chokers and festive bracelets so do check them out!

All the labels featured in this post can be found here [x] . I used a font from Fontspace and images
from my Pinterest [x]. Simply print them out on to card of your choice and volah!

I hope this post gave you some present wrapping ideas. Merry Christmas x

-J

*sorry for posting so close together; however, Christmas is imminent so this post couldn't wait*

a wonderfully christmassy collage

The christmas holidays are almost upon us! I cannot express my excitement for cosy evenings, trips to London and a lovely vacuum of spare time. Ahhhh. Only one more exam to go... In between History revision I decided to collect some of my favourite Pinterest festivities and arrange them in to a wonderfully christmassy collage. Like, dude, I need I get myself some brown wrapping paper.

I have such amazing (running out of adjectives here) ideas for this Blog including a GIVEAWAY very soon so keep updating your feeds. I hope you are all excited for Christmas and if you are religious, remember to reflect on what it is really about :)

Here's to two weeks of heaven,
J

christmas diy: recycled shelf tree


Hello! As promised, here is a long over due DIY for Painting The Ocean. And it is a Christmas one. This may not be the worlds' most polished  and pretty looking tree, however it sure is easy and it's recycled so smiles all round. Let's begin!


1// What you will need:

Basics
1 Pot
String
Cardboard
Stick
Pen
Scissors

Useful items
Washi Tape
Blue tack
Tissue


2// Draw about 5-7 squares on the cardboard. I wanted my squares to be uneven so I got a big marker pen and drew boxes varying in size. If you would prefer to have an even tree, use a ruler and carefully plan out the size of each square. Make sure the squares get increasingly smaller. 


3// Cut out the squares. Pretty self explanatory. 


4// Lay all the squares on top of each other (smallest at the top) and push a pin through them. You may have to push quite hard or split the pile in to two. I then used scissors to widen the hole.


5// Take the largest square and place it about mid-way down your stick. Then cut off about 15cm of string and start tying it to the stick, just below the large square. *Literally go to town wrapping around in a weird intricate circle of loops*


6// Start to place the squares evenly on the stick. Ensure you get smaller with each square. This part can be quite tricky so you may want to use blue tack or washi tape to keep the squares in place and balance them out. 


7// Lastly, place in a pot of your choice and you're done. I stuck my stick in the middle of a string ball to keep upright. I then put tissue around the sides.


I love how simplistic it looks compared to the usual Christmas tree! Plus, it is a great idea if you don't have a lot of space or find Christmas trees too cluttered. You can customise this DIY however you would like, whether that be with coloured paper, glitter, washi tape, a coloured stick- the possibilities are endless. This little guy looks great on my shelf above my desk. If you create your own recycled shelf tree, then please post a picture on instagram and use the hashtag #paintingtheoceandiy

Hope you're all feeling festive!
-J